[Legacy] How to Use the BoothBook App

BoothBook
Last Update 2 years ago
The boothbook app in the app stores have been discontinued. Please install the PWA apps by following the instructions here: https://support.boothbook.com/article/new-boothbook-pwa-app
The BoothBook App has been created so that businesses are able to manage their business on the go, it enables quick access to Bookings as well as to contact new leads.
Once you have downloaded the BoothBook App from your App Store, it will be ready to use!
1. Once you have selected the app to open it, you will then be taken to the Log in field, you will need to log in with your BoothBook account details. These details consist of your URL, Username and Password. Your screen should appear as below:
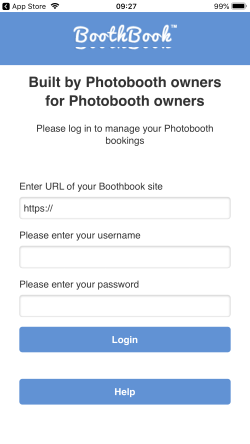
TIP: If you have trouble logging into your app or the app is not responding then close the app completely. Open it once again and try logging back in. However if after trying this tip this does not log you in, please ensure you are entering the correct log in details.
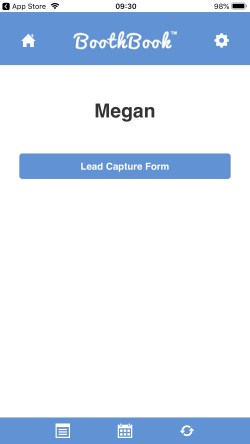
2. After you have logged in to your account you will be taken to the Home page which will present you with the Lead Capture Form button, if you select this it will take you to the form to complete the fields for that Lead. If you need to come out of the Lead form then click on the bottom left corner which will take you back to the Home page. The second screenshot below shows a circle around the area you should select to take you back to the home page. (This button is hidden so that if a customer was using the app at a wedding fair for example to complete a Lead Capture Form, they can then not view your other bookings).
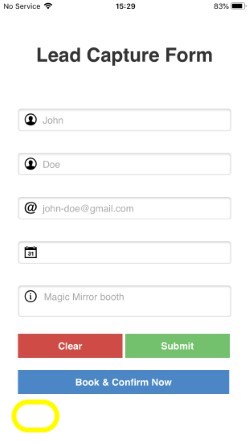
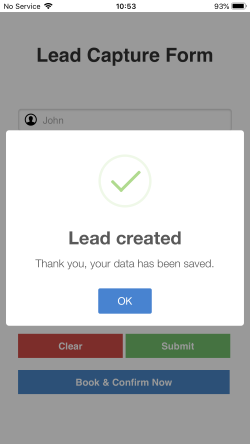
3. If you have a lead you would like to submit then complete the fields displayed on the form e.g (Name, Surname, email, date of event, and the package of service). Once this information has been completed you can select Submit which will create a new Lead. A pop up will then appear on the screen to confirm the Lead has been created, following this it will then take you back to the blank Lead Capture Form after selecting Ok.
4. You can also create a new lead just by entering the fields of the email and event date on the Lead Capture Form however you can not do this if just completing the fields of name and surname. If rather than select submit you select Book & Confirm Now this will take you through to the full booking form on your business website in order to complete all of the booking.
5. On the Home page of the App you will also find along the bottom a blue bar with three icons, these icons are used for your Bookings, your calendar and there is also a sync button to update the app.

Bookings Icon - When selected this will present you with a list of all your bookings in date order, you can select an event here which will open the booking and present you with all the details of that booking e.g (Date of event, event name, time, package of service and location). The opened booking will also give you the option to contact the customer via phone or email. By selecting either one of these it will immediately take you to that action, so by selecting Call the contact number of the customer will appear for you to call. If you select Email this will take you to the email function on your phone to begin your message.

Calendar Icon - This icon will simply present you with your calendar showing you all the dates highlighted with bookings, again you can select the highlighted dates to present you with the details of the selected booking as this will bring the booking up underneath the calendar. Select this and it will display the booking as above with the call and email option along with their information.

Sync Icon - If you select this button it will sync all your bookings from your, eg. booking.mybusiness.com, BoothBook system to the app this can also be used to refresh when a new booking has been made and needs to be updated on there.
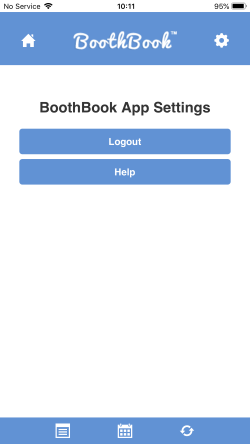
6. At the top of the app on the blue bar, there you will able to see the Home page icon alongside the BoothBooth logo, the home icon takes you straight to the home page of app. On the opposite side you will find a Cog icon also which when selected gives you the option to Log out or to select Help.
Log out - If you wish to come out of the app you can simply select Log out this will direct you back to the log in screen where you can enter your details the next time you wish to use the app.
Help - When this has been selected it will take you to a help page which explains a Quick Step Guide to Getting Started for logging into the app.