Extras Groups
BoothBook
Last Update il y a 4 ans
What are Extras Groups For?
If you create Extras Groups, you can then assign Extras to them and it will group them together on the booking form. For example, you could create an Extras Group called Backdrops and assign all of your different backdrops Extras to it. You can then make it required or make the customer able to only select one from that group.
Create And Use Extras Groups
- Go to Assets (camera) icon on the tool bar on the left, Extras Groups and click Add new Extras Group
- Enter a Title eg. Backdrops
- Enter a Description such as Choose the backdrop for your Photo Booth
- Choose whether to make Make group required or not. If ticked, customer must select an option from this group to continue.
- Choose whether to Disable multiple selections or not. If ticked, a customer can only choose one option from this group per service.
- Optionally choose the Weight (Display Order) to control where in the list of Extras Groups that this one appears.
- Click Save
- Go to Assets (camera) icon, Extras and navigate to the Extras that will need to appear in the new Extras Group.
- For each one, edit the Extra, navigate to Display, select an option from Choose Extras Group and click Save.
Format the display of your Extras Groups
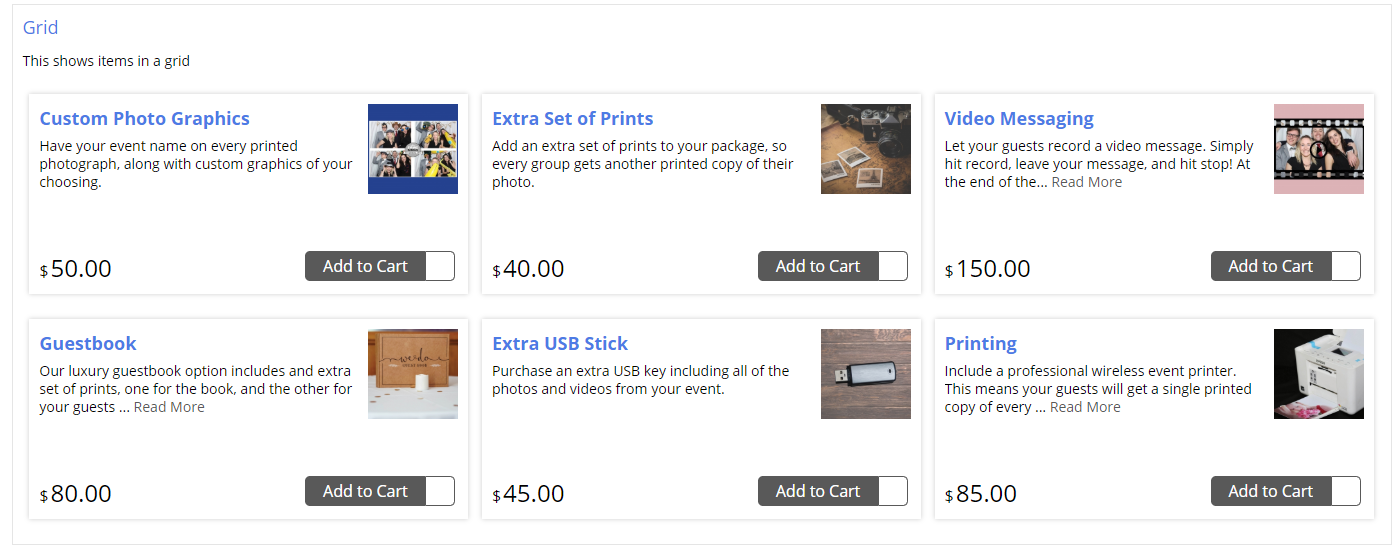
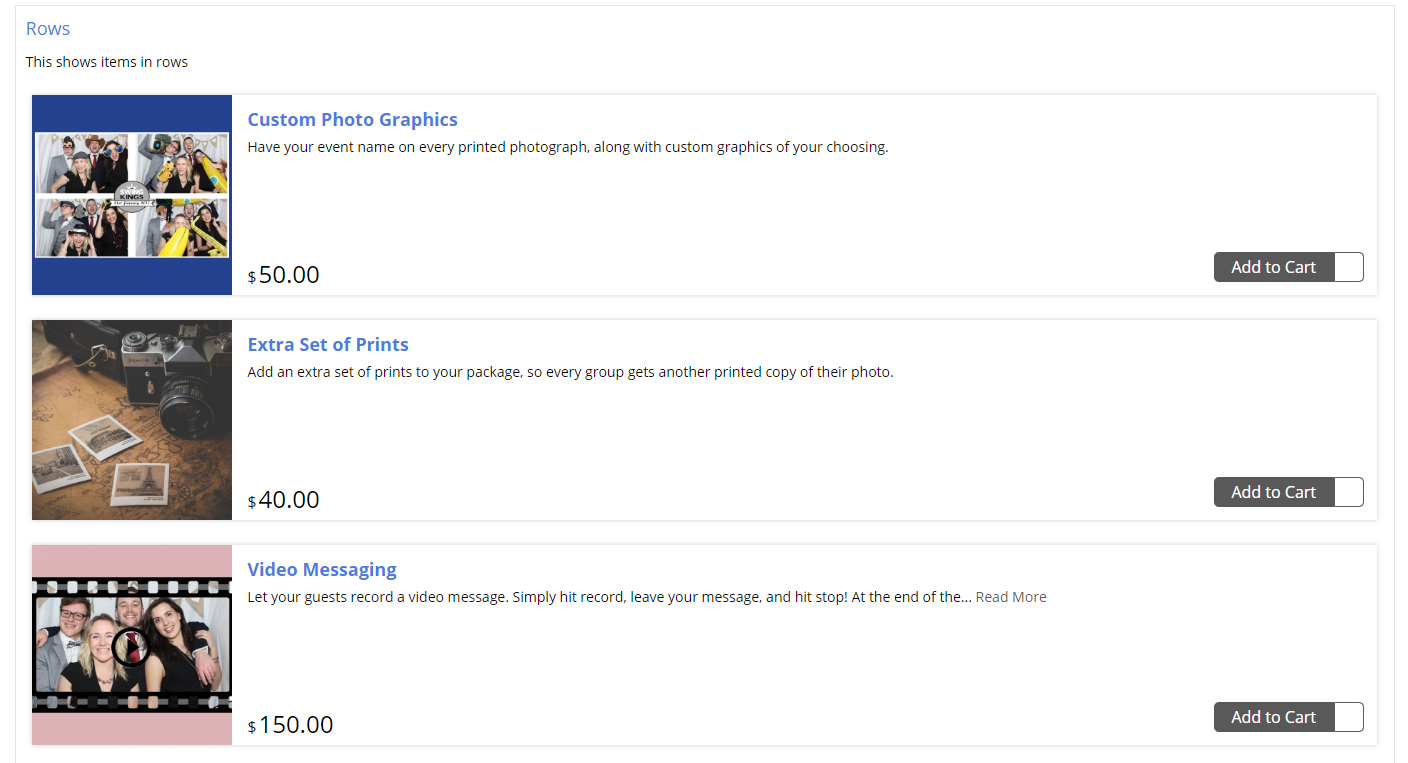
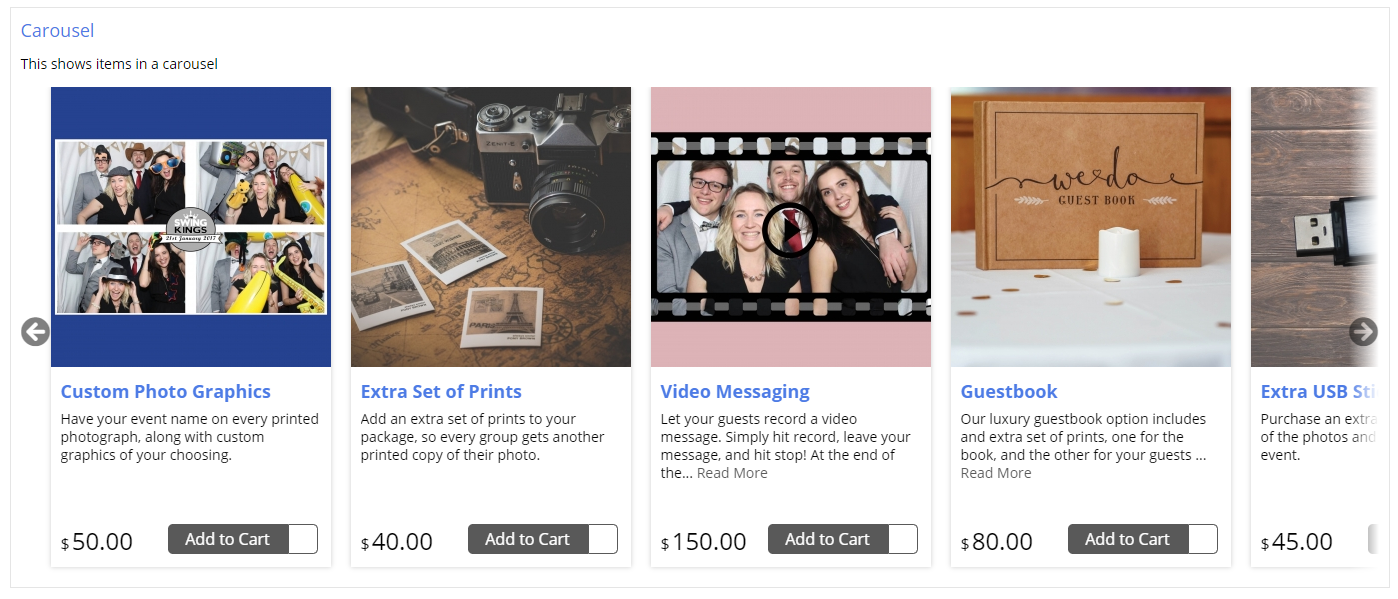
You can easily set the display style of each Extras Group by heading to Assets > Extras Groups > Edit > Select an option from Display Mode.
If you have multiple Extras Groups within a booking form, it's a nice idea to select different display options to keep your form more engaging, modern and presentable for your client.
Grid
Row
Carousel
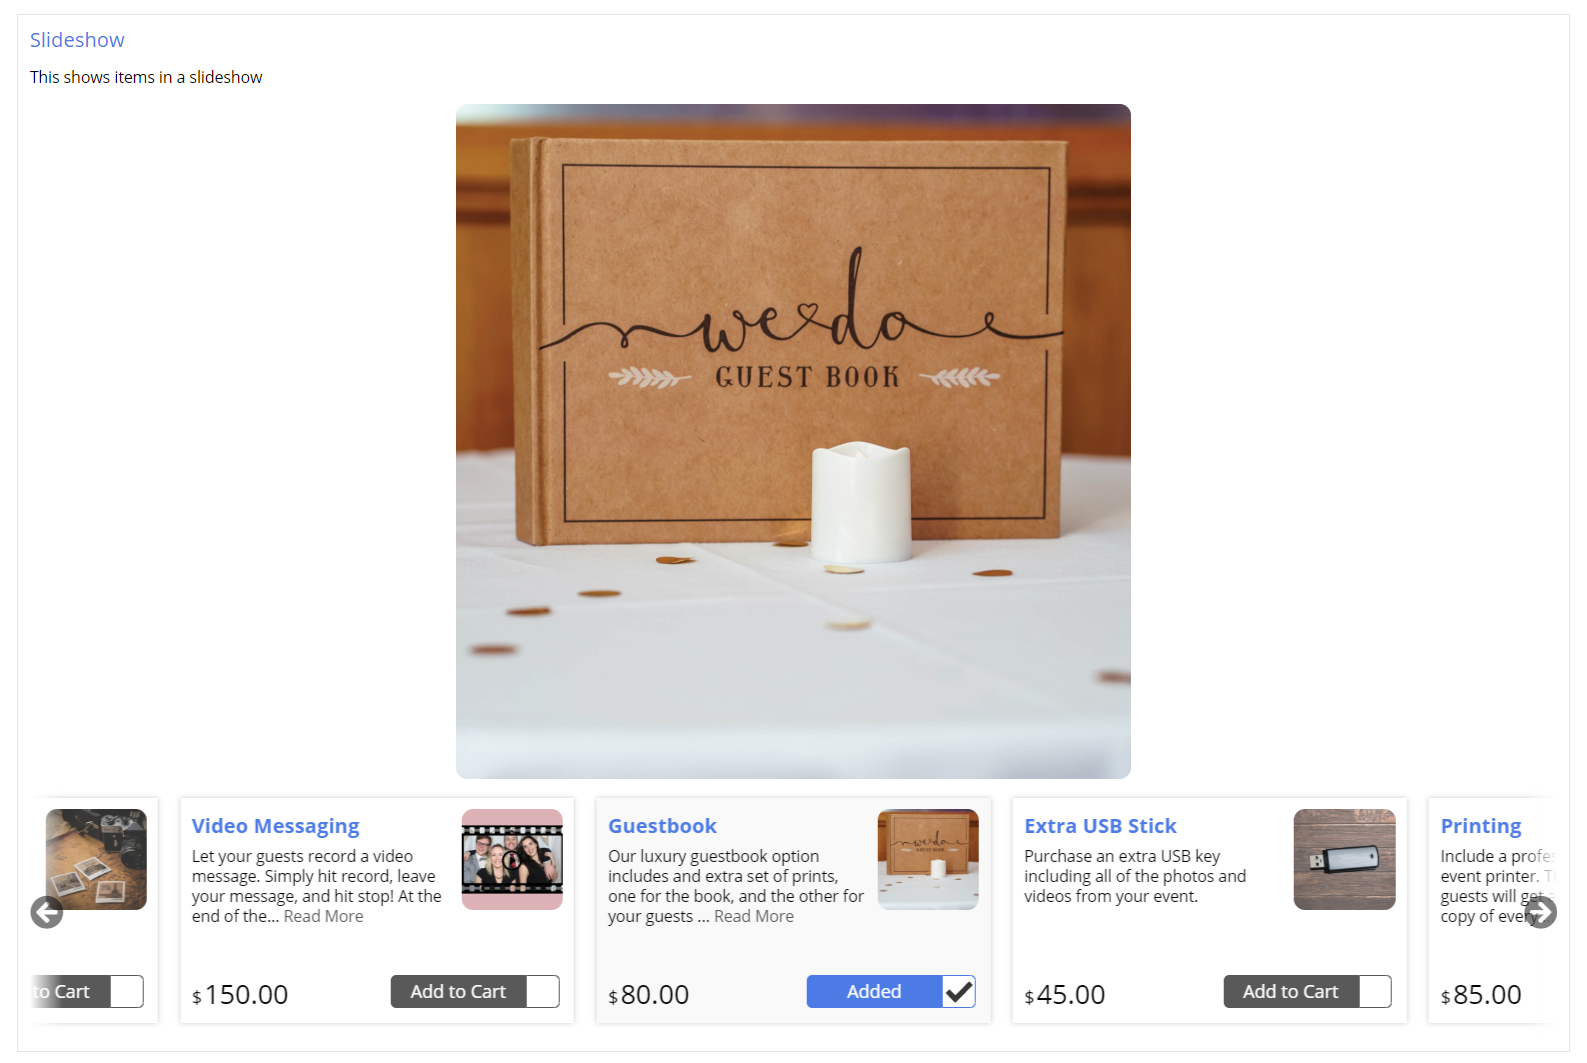
Slideshow
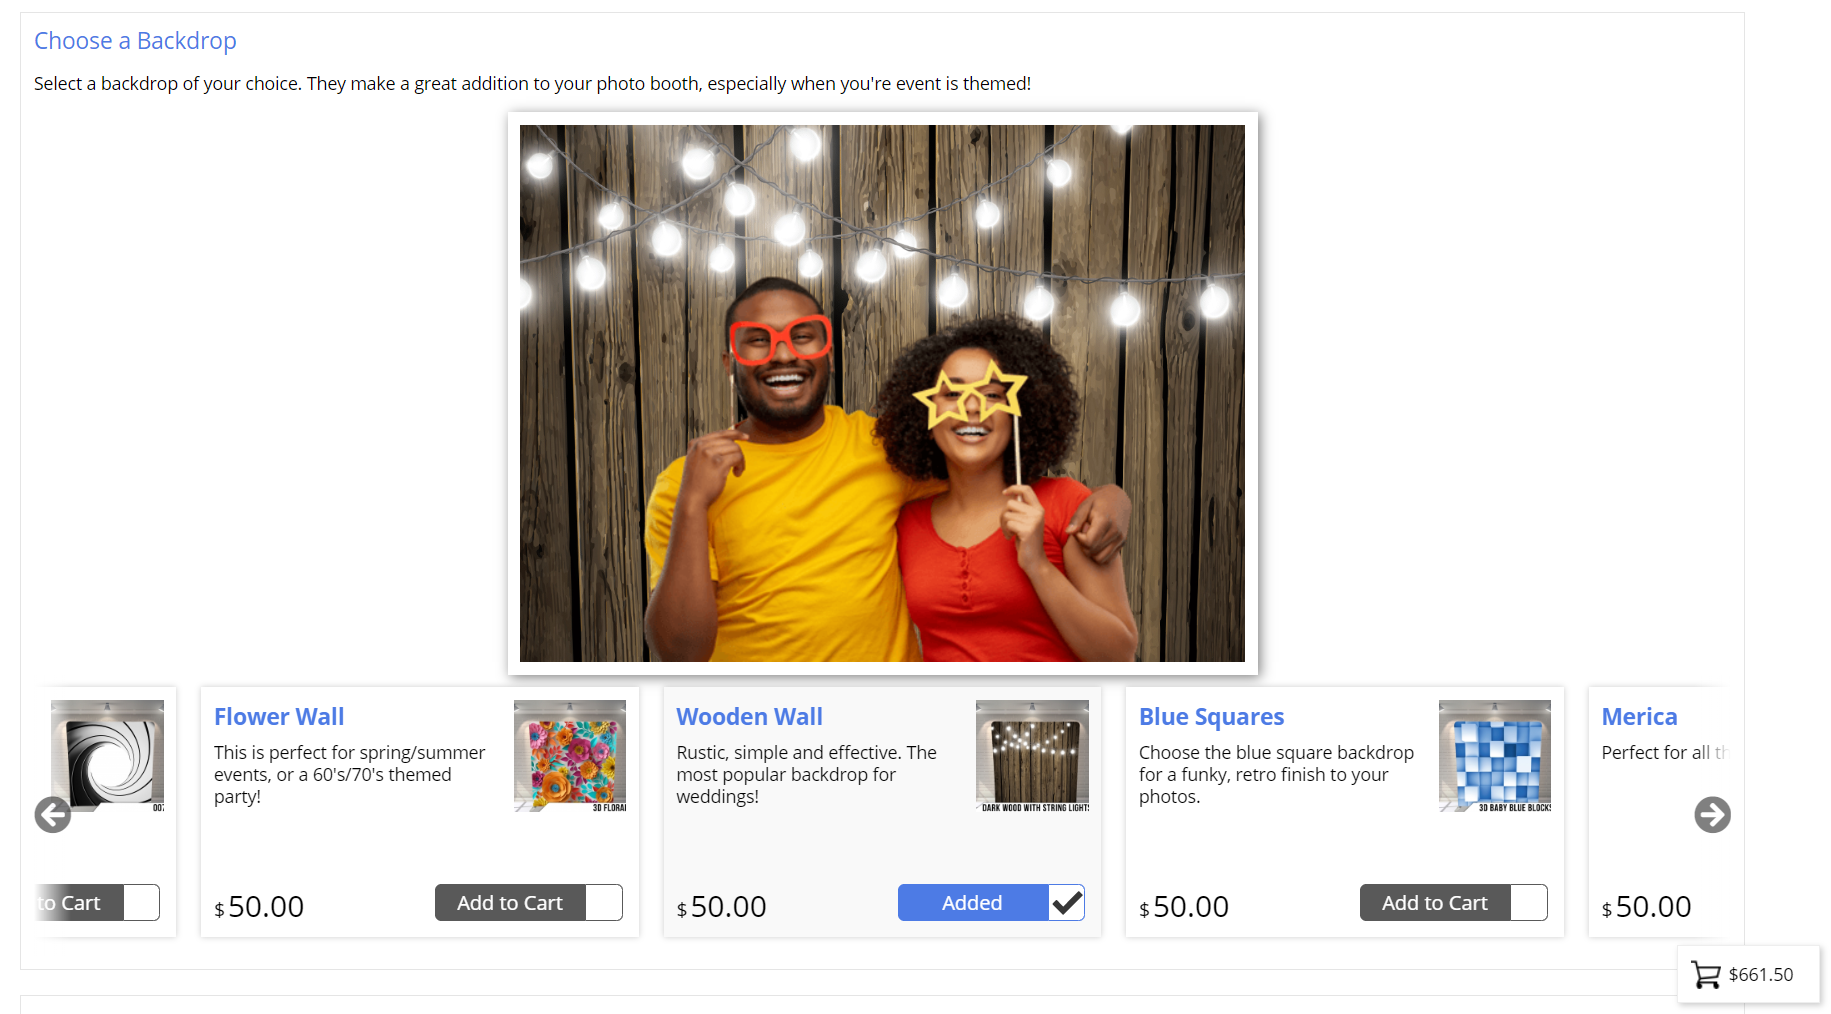
Backdrops
For this display option, your customers will see what each of your backdrops look like with people and props in front of it when scrolling through. This works well for customers that use PB Backdrops. This is a great way to help your customers envisage what it their photos will look like.
Note: If you have your own backdrops, and have already added people to the image, we would recommend using the 'Slideshow' style instead.
