Upload Leads via CSV Importer
Bulk upload and import leads

BoothBook
Last Update 3 years ago
What are the benefits of using a CSV importer?
Using a CSV importer makes the entire uploading process more streamlined and reliable. Rather than having to manually add a new lead (ie. from a wedding show) one by one, and avoid human error, you can bulk upload and get on with following up those potential bookings!
How do I use it?
1. Make sure your upload file is in the correct CSV format with heading names in row 1. For further information on how to create a CSV file, click here
Please note: If you are upload a 'date' column, it MUST be uploaded in a specific format otherwise it will fail to import. Click here to understand more.
2. Head to Leads > Import Leads > Choose File > Upload CSV
3. Check you are happy with the overall data. It should look similar to the below image.
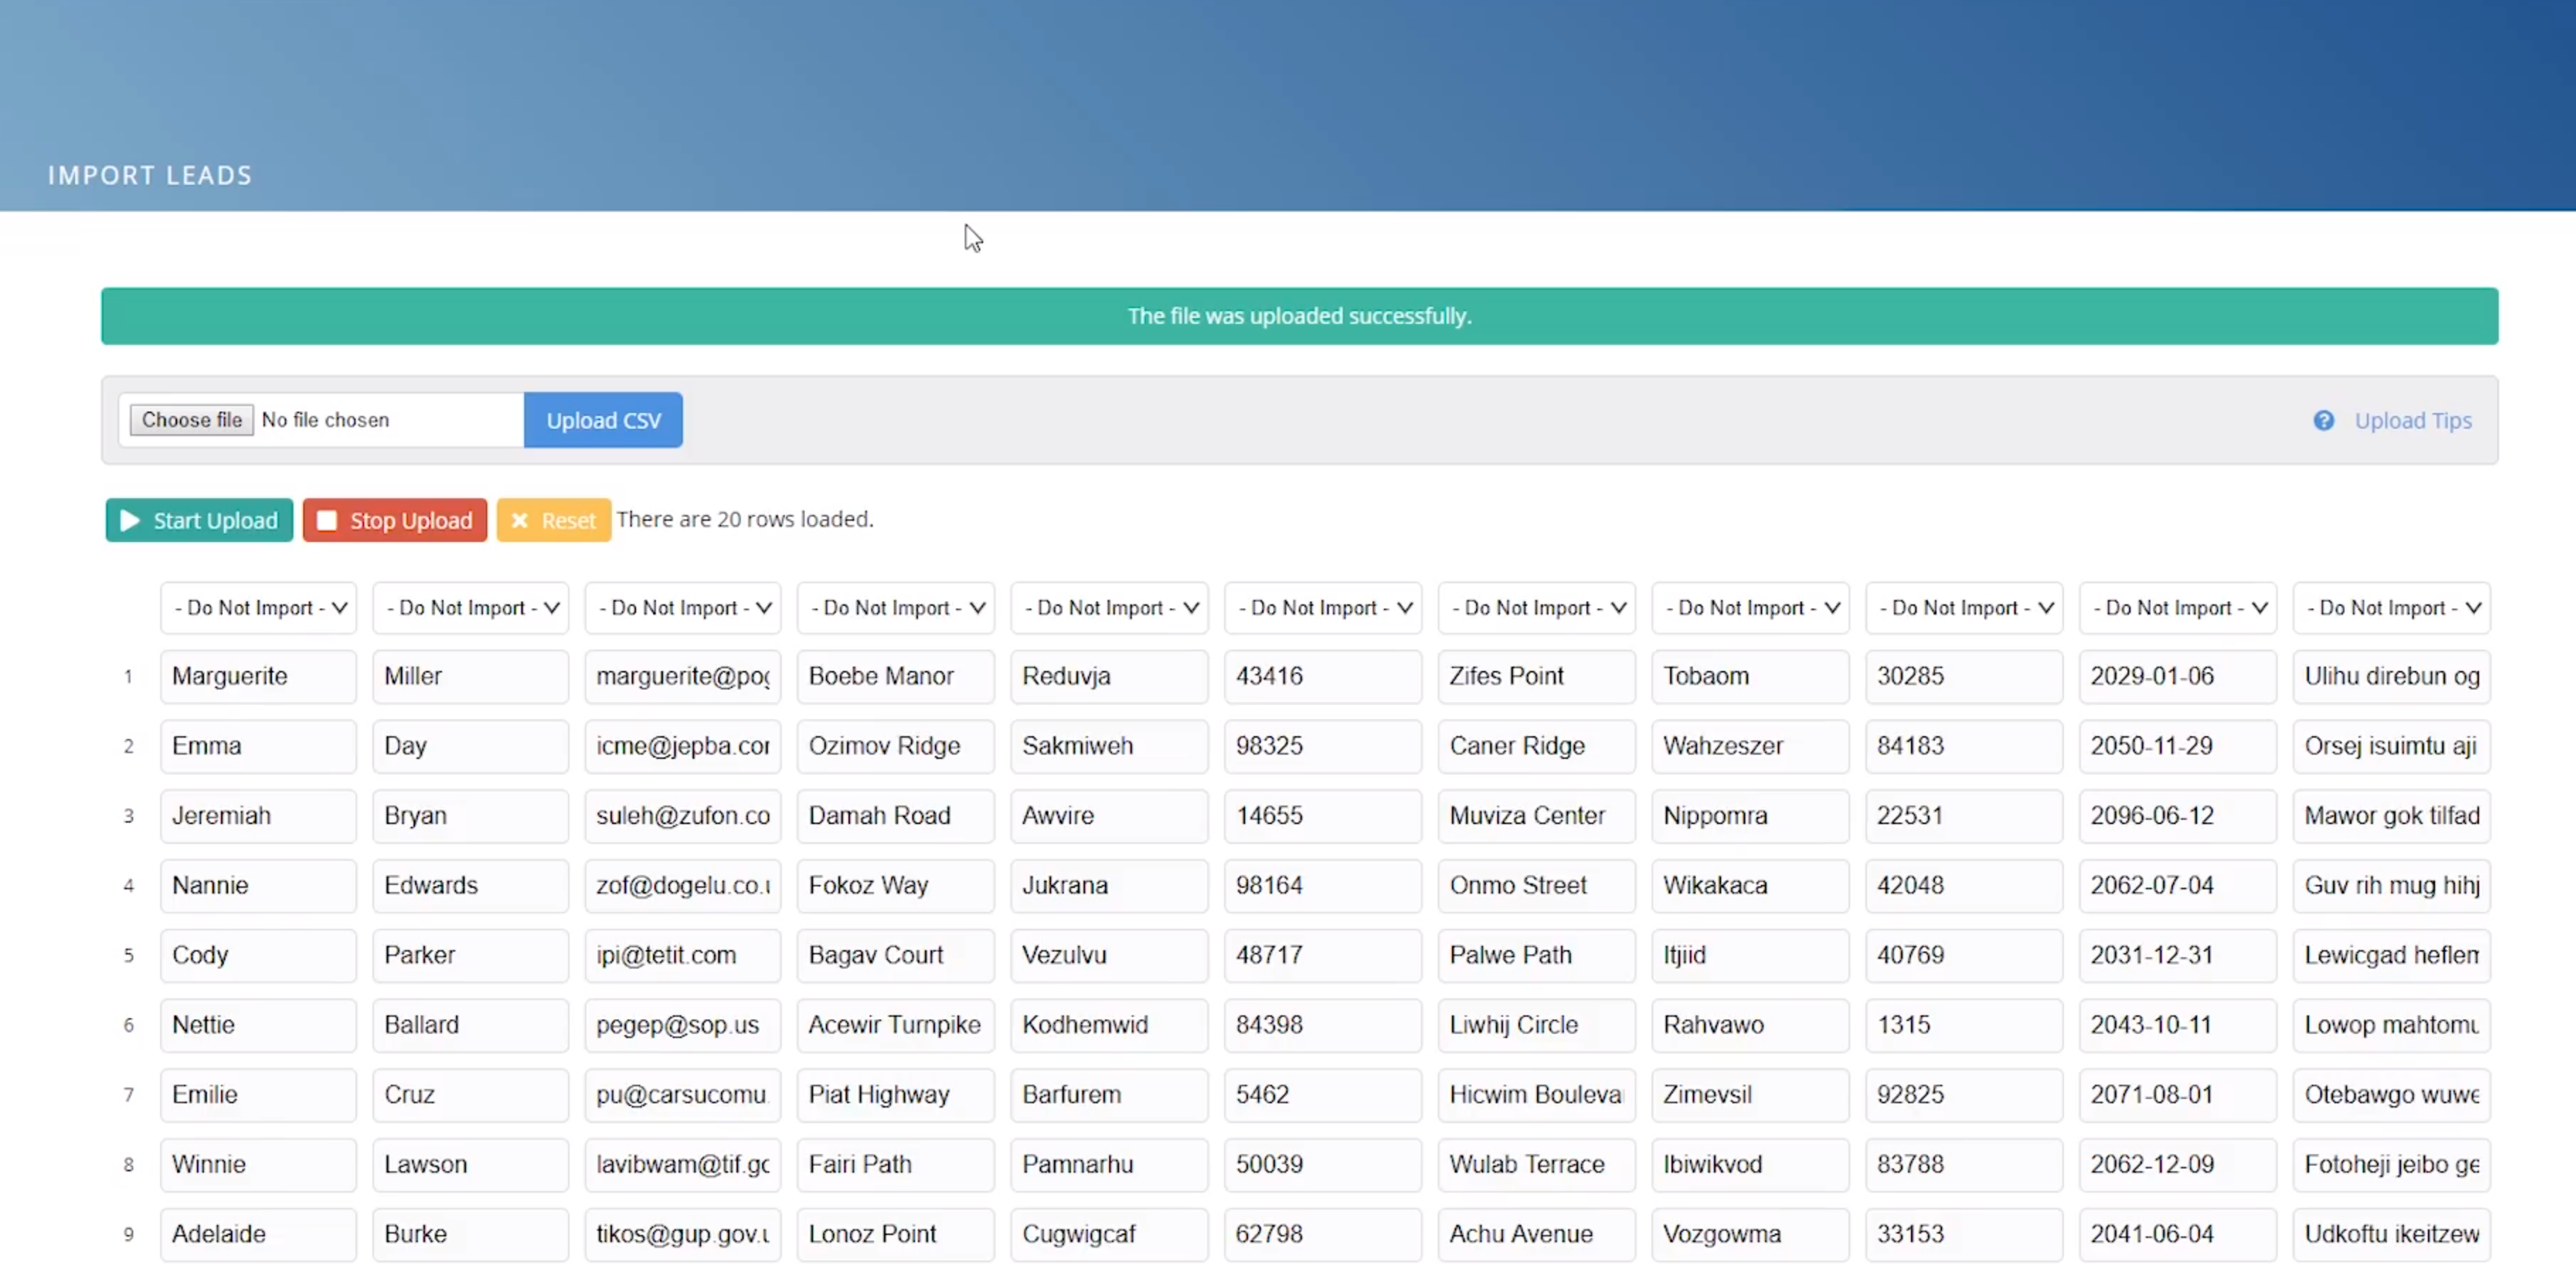
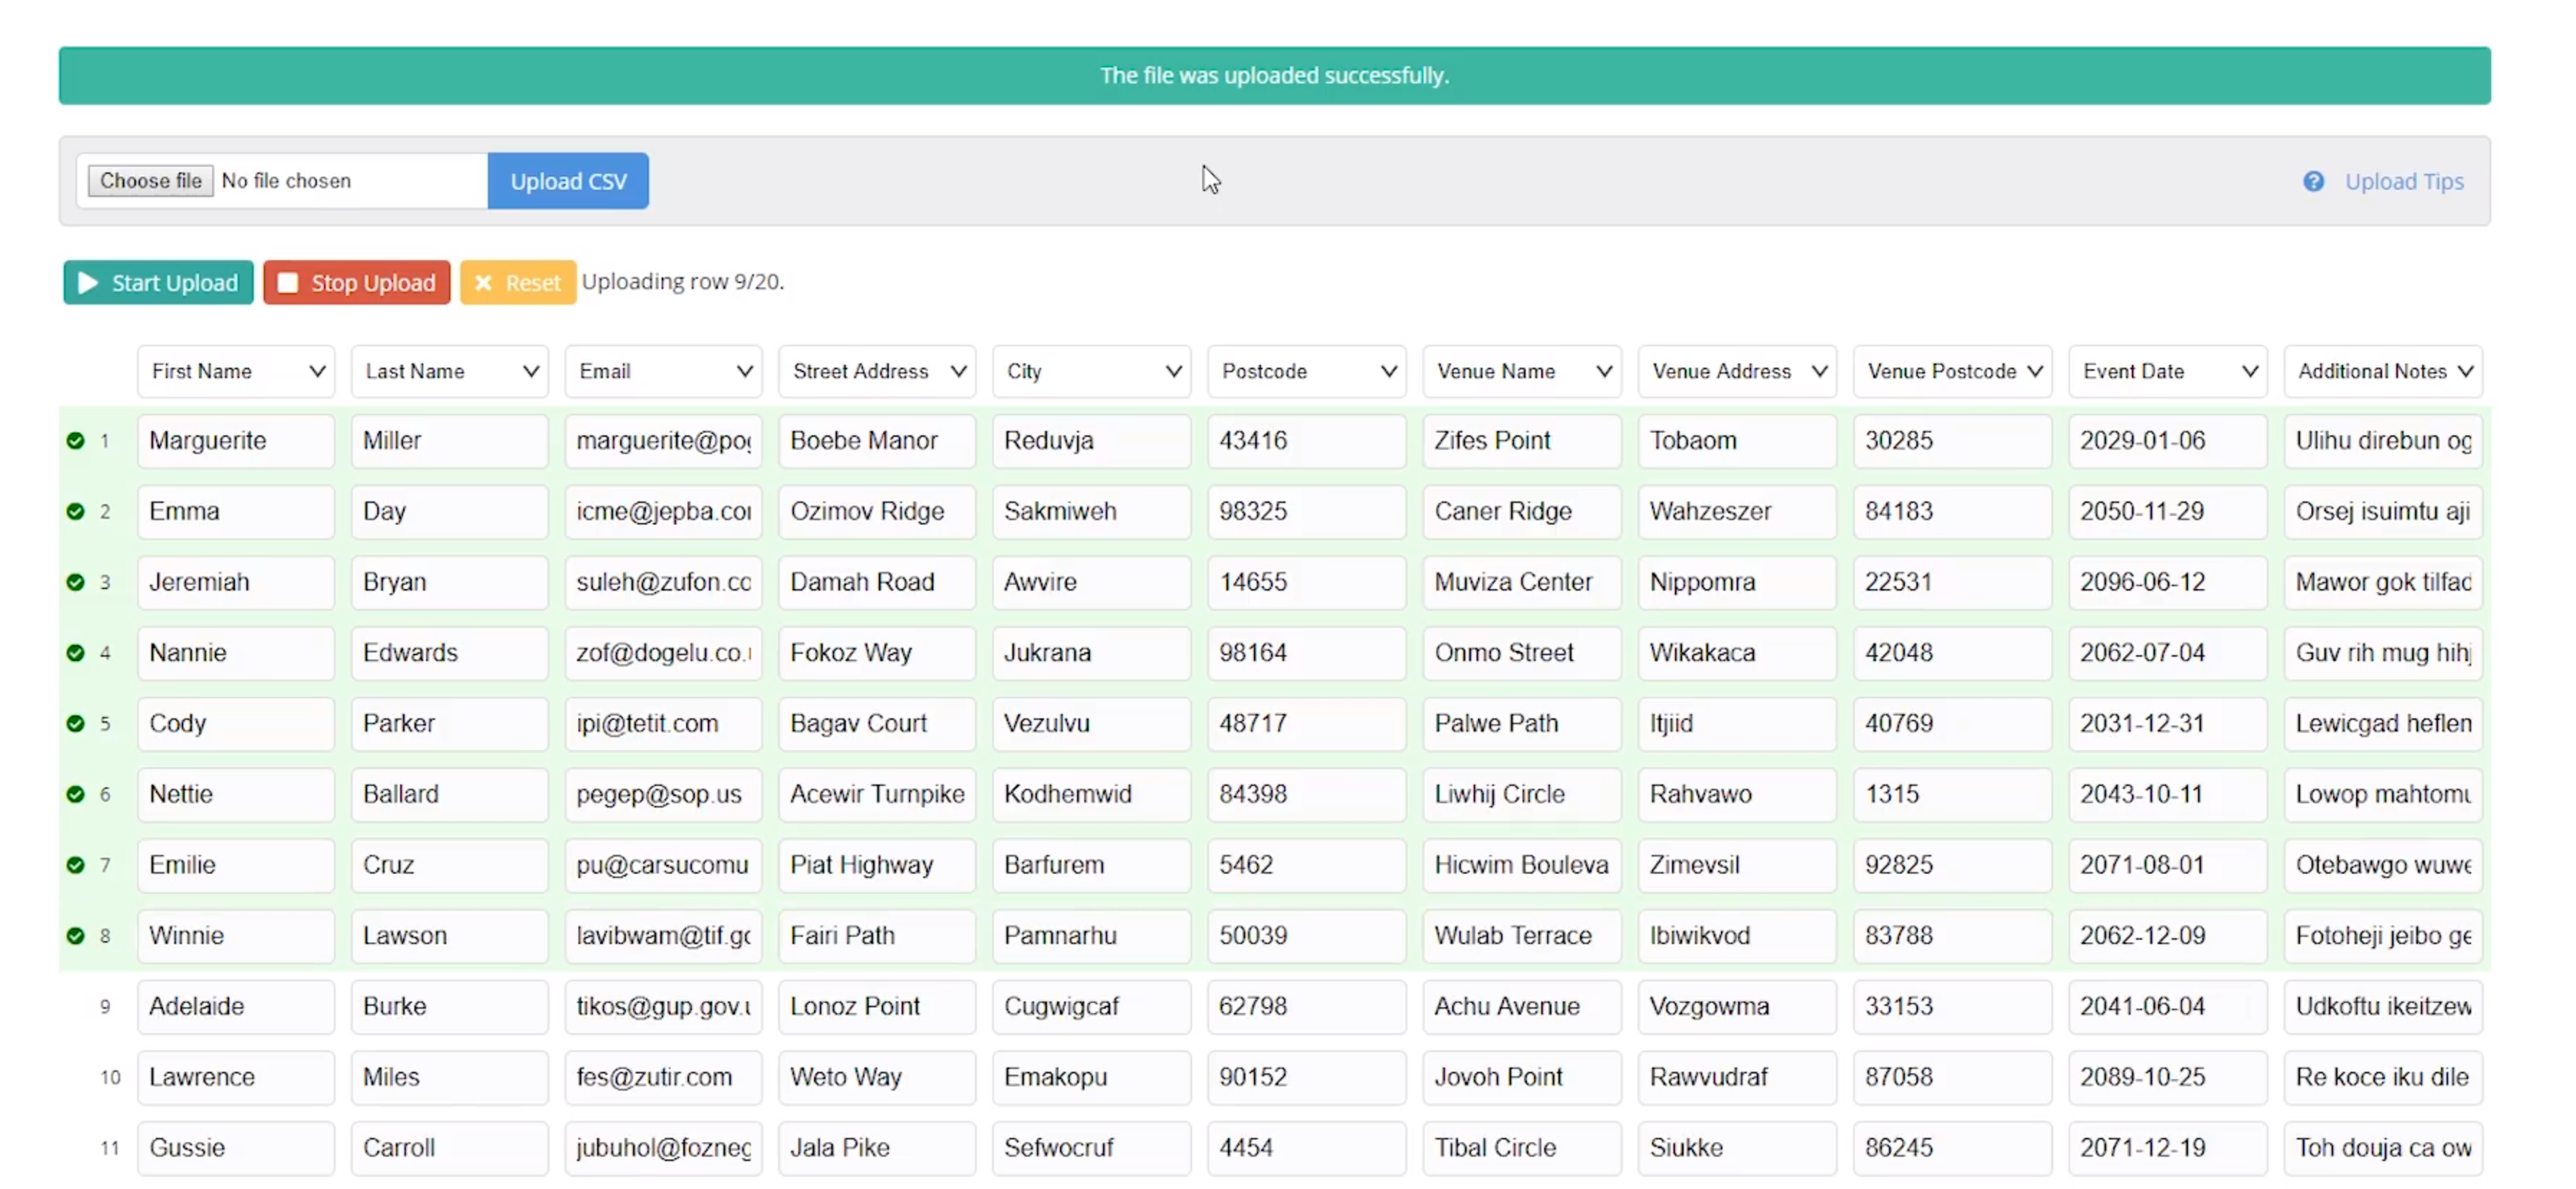
4. Amend the title on each column from 'do not import' to the relevant match ie. First Name. All columns that haven't been amended will not be imported.
Please note if you are uploading a column with the 'event type ie. wedding, birthday, anniversary, select the header 'additional notes' so you can still pull through this data.
5. Once you are happy, click 'Start Upload'.
6. This will start to import the rows. All green rows are successful, and any red rows have an error. Please allow it to finish importing before you click anything.
Any errors will be added to the top of your screen so you are aware of which rows need to be edited. These errors may be due to formatting issues.
7. Head back into your lead centre and you should see your new leads listed accordingly.
8. We recommend spot-checking this list by viewing a couple of lead contacts and cross-checking their data.
9. If you would like to filter your recent CSV import (add an ID) . ie. New Leads 10/07/19, go to your Lead Dashboard > Configure Pipeline > Add New Pipeline Status.
i) Go back to your dashboard and bulk select or manually select your list (make sure they are contacts that haven't got a status set) > Operations Dropdown > Change Status > Execute > Select Status and follow the instructions.
ii) Once complete, these contacts will filter out in the pipeline so you can send specific email content if you wish.